I installed a red LED strip between the tail lights and the very next day I dopped the car off to have it wrapped. When I got it back, a Brake Light Malfunction warning showed in the left-hand dial on the dash. Hitting the INFO button dismissed the warning. Trouble is now at every start up; I have hit that INFO button.
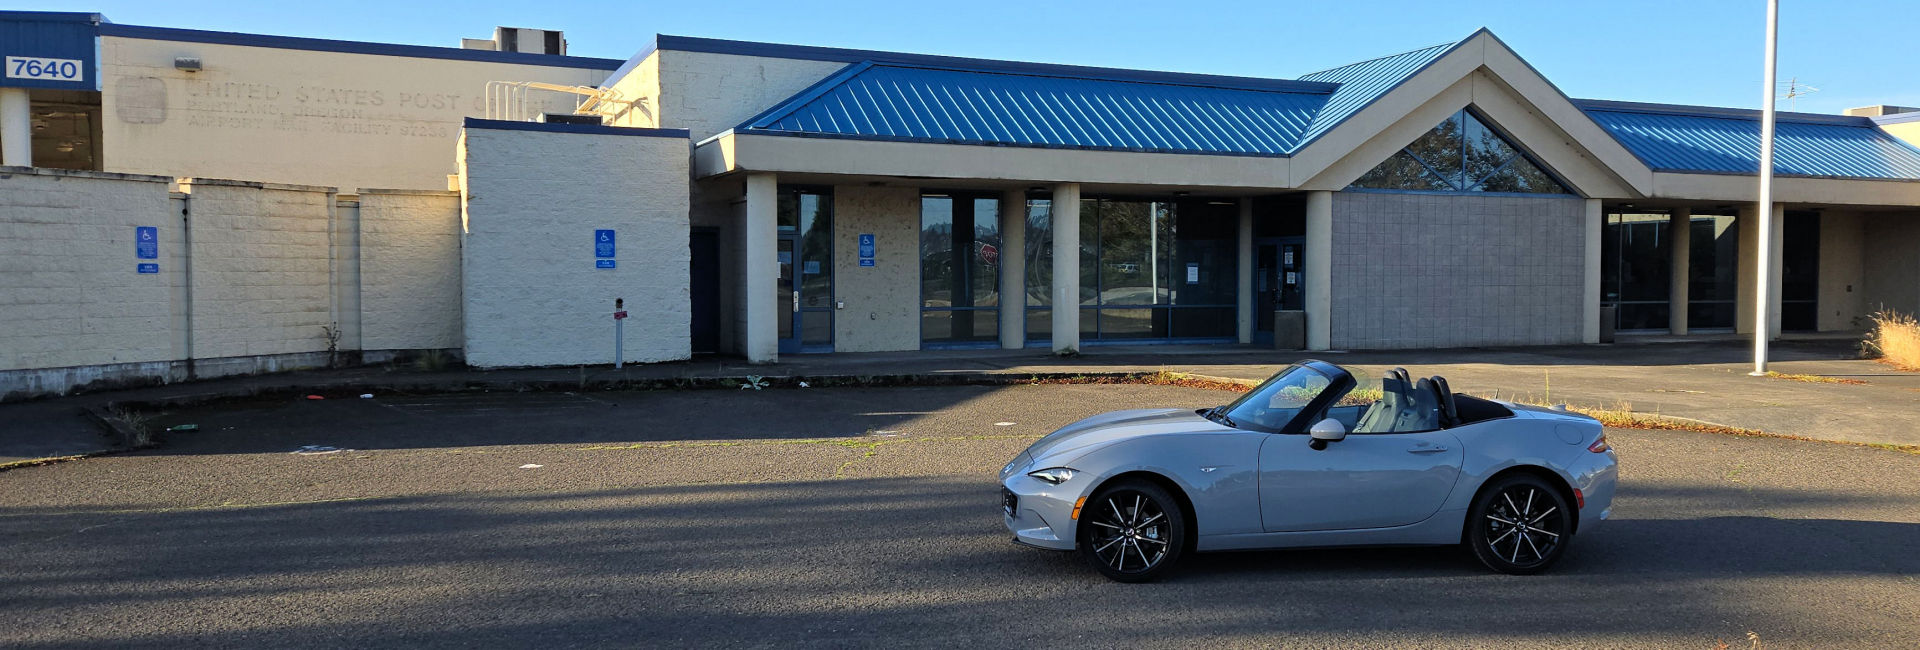
Step one in troubleshooting was to back up to some shop windows to see if both tail and brake lights were working properly. They were, so what’s wrong? This led me to that red LED strip. I had purchased it from CravenSpeed. They are local to me, so I drove to their shop in Tigard which is southeast of Portland to save on shipping. All in all, the cost of gas used might have been more than shipping, but a Miata drive is a Miata drive.
CravenSpeed doesn’t make that kit it is produced by someone called MX5Things. So, I used the contact us link on the website wondering if the product still worked well in the 2024 models because that is model year that went full CAN Bus. Turns out it is a one man show and Sergey has the same 2024 GT soft top as mine. He said first check to make sure I had the correct wiring jumper harness. I did, so he said if the LED strip lights up, the only thing left is the harness. He suggested I return to CravenSpeed and try a new harness. When there we swapped the jumper harness and that didn’t fix it.
When I got home there was one thing I hadn’t yet tried yet, unhook the jumper and take the LED strip out of the circuit entirely. Unfortunately, the brake light malfunction warning was still there. It was time to punt. I went to the dealer last Friday to see if they could fix this issue. They wanted to keep the car for 2 to 3 days to troubleshoot it because if it wasn’t a simple fix they would have to do a deep dive. I said, “I’ll let you know.” When I got home, I put the LED strip jumper back in. I’d just keep hitting the INFO button on the steering wheel to dismiss the warning.
I knew they took the tail lights out to wrap the car and I’ve got the LED strip jumper plugged in on the driver’s side, but I’ve never messed with the passenger side tail light connection, so I unplugged and replugged in that tail light to see if that might be it. That wasn’t it, but doing this caused a tail light malfunction warning in addition to the brake light warning. Crap. So now I’d have to hit the INFO button 2 times to clear the warnings.
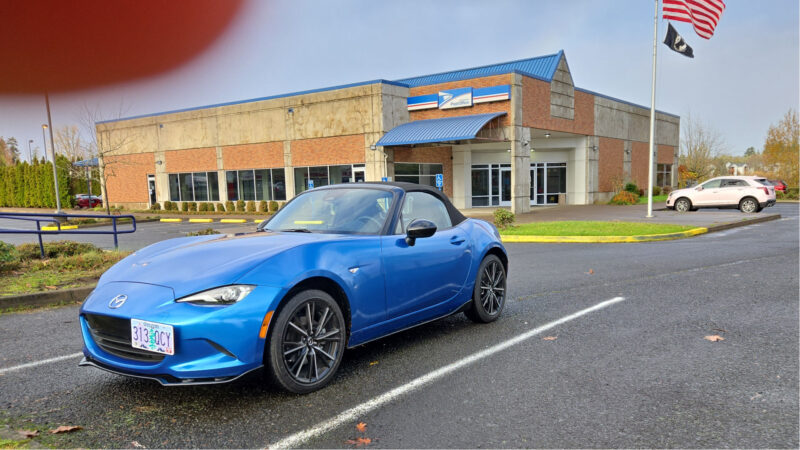
Using a long broom stick to depress the brake pedal, I checked the tail lights again and everything appears to work normally, even the blinkers. I called the dealer and set up an appointment to take it in and Monday I took it in. They asked if I wanted a ride home? I said, “I was just going to call an Uber.” The Service Rep’s reply was, “We’ll get you a Lyft. They’ll pick you up out front.”
The car was in their possession for about 24 hours. They cleared some codes, then started and shut off a car a couple times to check and the light warning did not reappear. The next morning, they did the start-stop thing a couple more times and called it fixed. They did have one code that couldn’t be cleared, the one for a missing satellite antenna. That’s because I removed the antenna and vinyled over the hole on the trunk lid. At least that particular error code is silent and does not cover over any of the dash displays.
Cost all of $100 for the tech’s time. But I recouped a 1/3 of it back when they replaced both windshield wipers, even though they aren’t a warrantied part, when I mentioned there were several fine streaks left after each swipe from day one.
Whatever they are paying that Service Rep is not enough. The simple offer of those wipers caused me to do something I absolutely hate to do; I filled out a ‘how was my service’ survey. Not only that, I give a 5 star review and actually left a really nice comment.
