Friend of the blog, previous owner of the CTBNL and my Fairy Godbrother, David, had an idea on how he wanted to customize the car when he first bought it in 2015 and preceded to buy up parts to do just that. Before he carried out that original direction, he changed his mind and went another way. Some of those parts were stuffed in a storage space and forgotten about. Fast forward to this year, David is pulling up stakes in our old home town and moving, so guess what he unearthed?
Those forgotten boxes full of Miata goodies. He and I think alike in that the selling unused or unwanted items is a colossal pain. The lookie-loos & lowballers of Craig’s List or Ebay are frightening. Giving out your phone number & meeting with random strangers from the internet, scarier still. Yard sales? Forget about that hassle. Giving the items away to someone who’ll use and appreciate is the way to go. So David texted me and asked if I was interested in a full Nakamae interior for the CTBNL.
I was very interested in the door panels because they are basically flat and I have to be careful when bending my left leg for comfort on trips as it barely fits between the stock molded door pull and the steering wheel. I was unsure of all the rest of the items, because I felt it would be too much diamond quilting. But I said send them anyway, I could the stuff in and if it was too much, I could always take it back out.
UPS dropped off two big boxes on Monday afternoon, so you know for sure, Tuesday right after breakfast I was down in the garage.
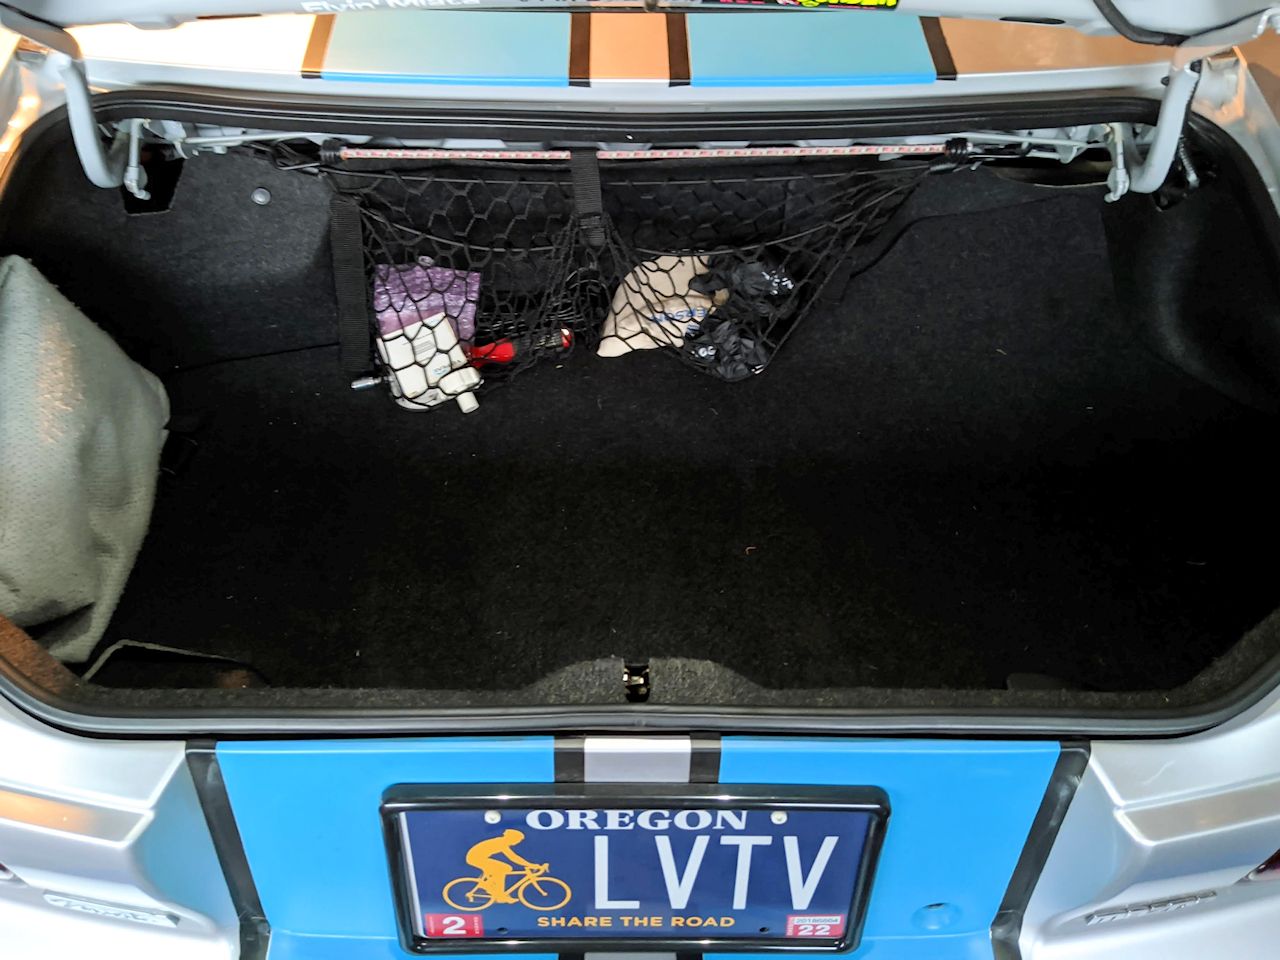
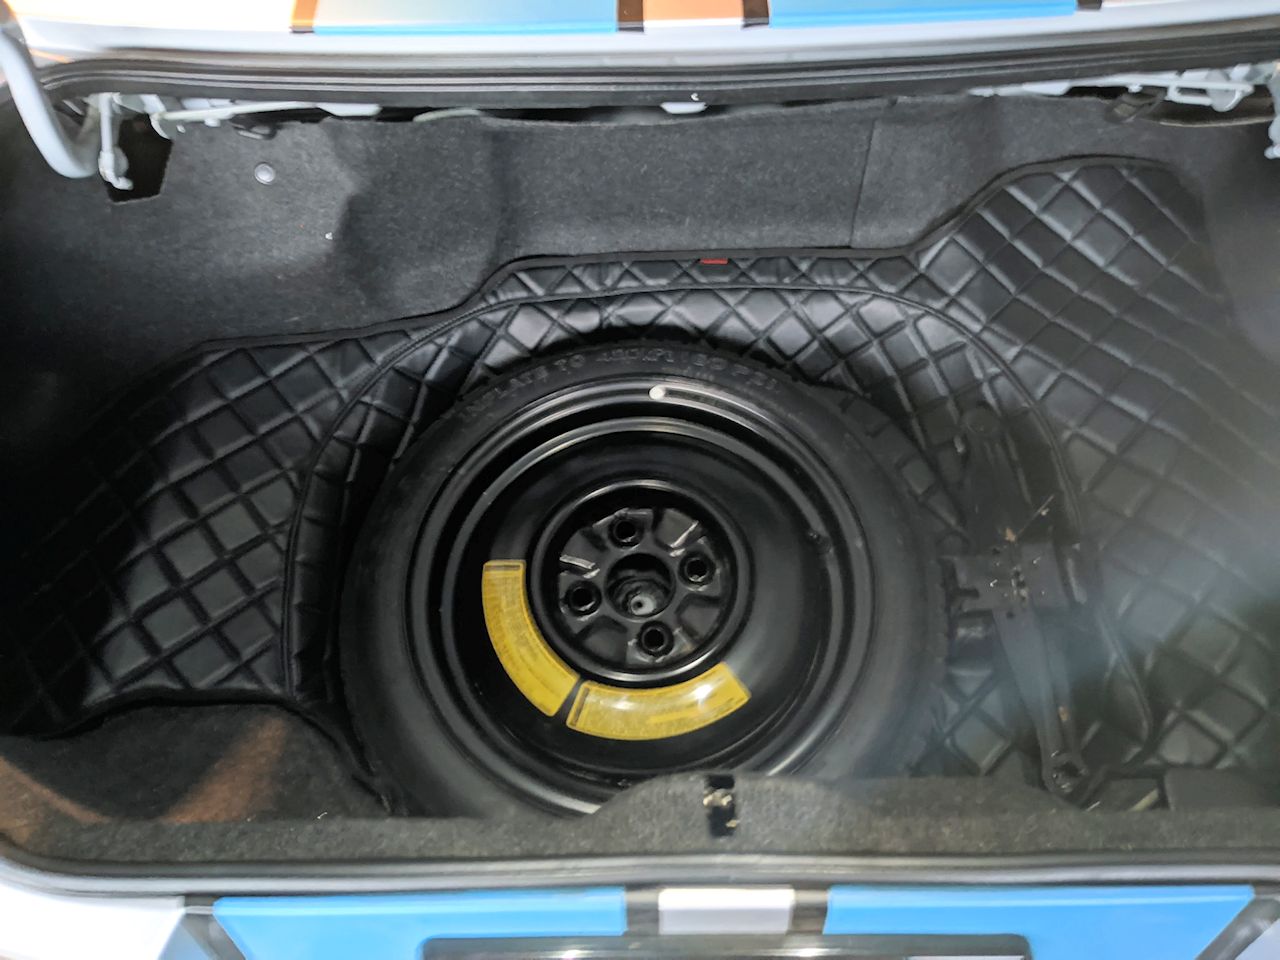
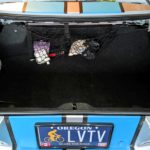 First I went in for something easy, the trunk liner. I was amazed at how much “essential gear” I was carrying around in there… After removing the cargo net, the padded “carpet piece”, pulling all the stuff out of the pocket on the left and the things hiding around the spare tire I was ready to put the quilted goodness in.But, not yet, I had to remove the spare and jack to vacuum out the cavity. I have to say it took a lot of jockeying to get the jack to lock down because of the padding, but I got it.
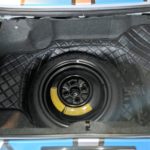 While it looks really good there was no place to put the jack crank arm that used to be attached to the piece that covers the battery or to hide the lug wrench. Plus under there I hid a small tool kit and the tire pressure gage. The cargo net that held the spare ball cap, the Bluetooth OBD reader, the extra CAS, a nut driver for installing the CAS and the stock headlight bulbs (I recently upgraded to LED) looked awful there, so I decided to keep the trunk the way it was before. The Nakamae trunk stuff would look good if I was driving a show car and I think it might have been a nicer item if it just covered that flat stock piece… On the brightside I did clean off the spare tire and pump it back up to the required 60psi from its existing meager 35.
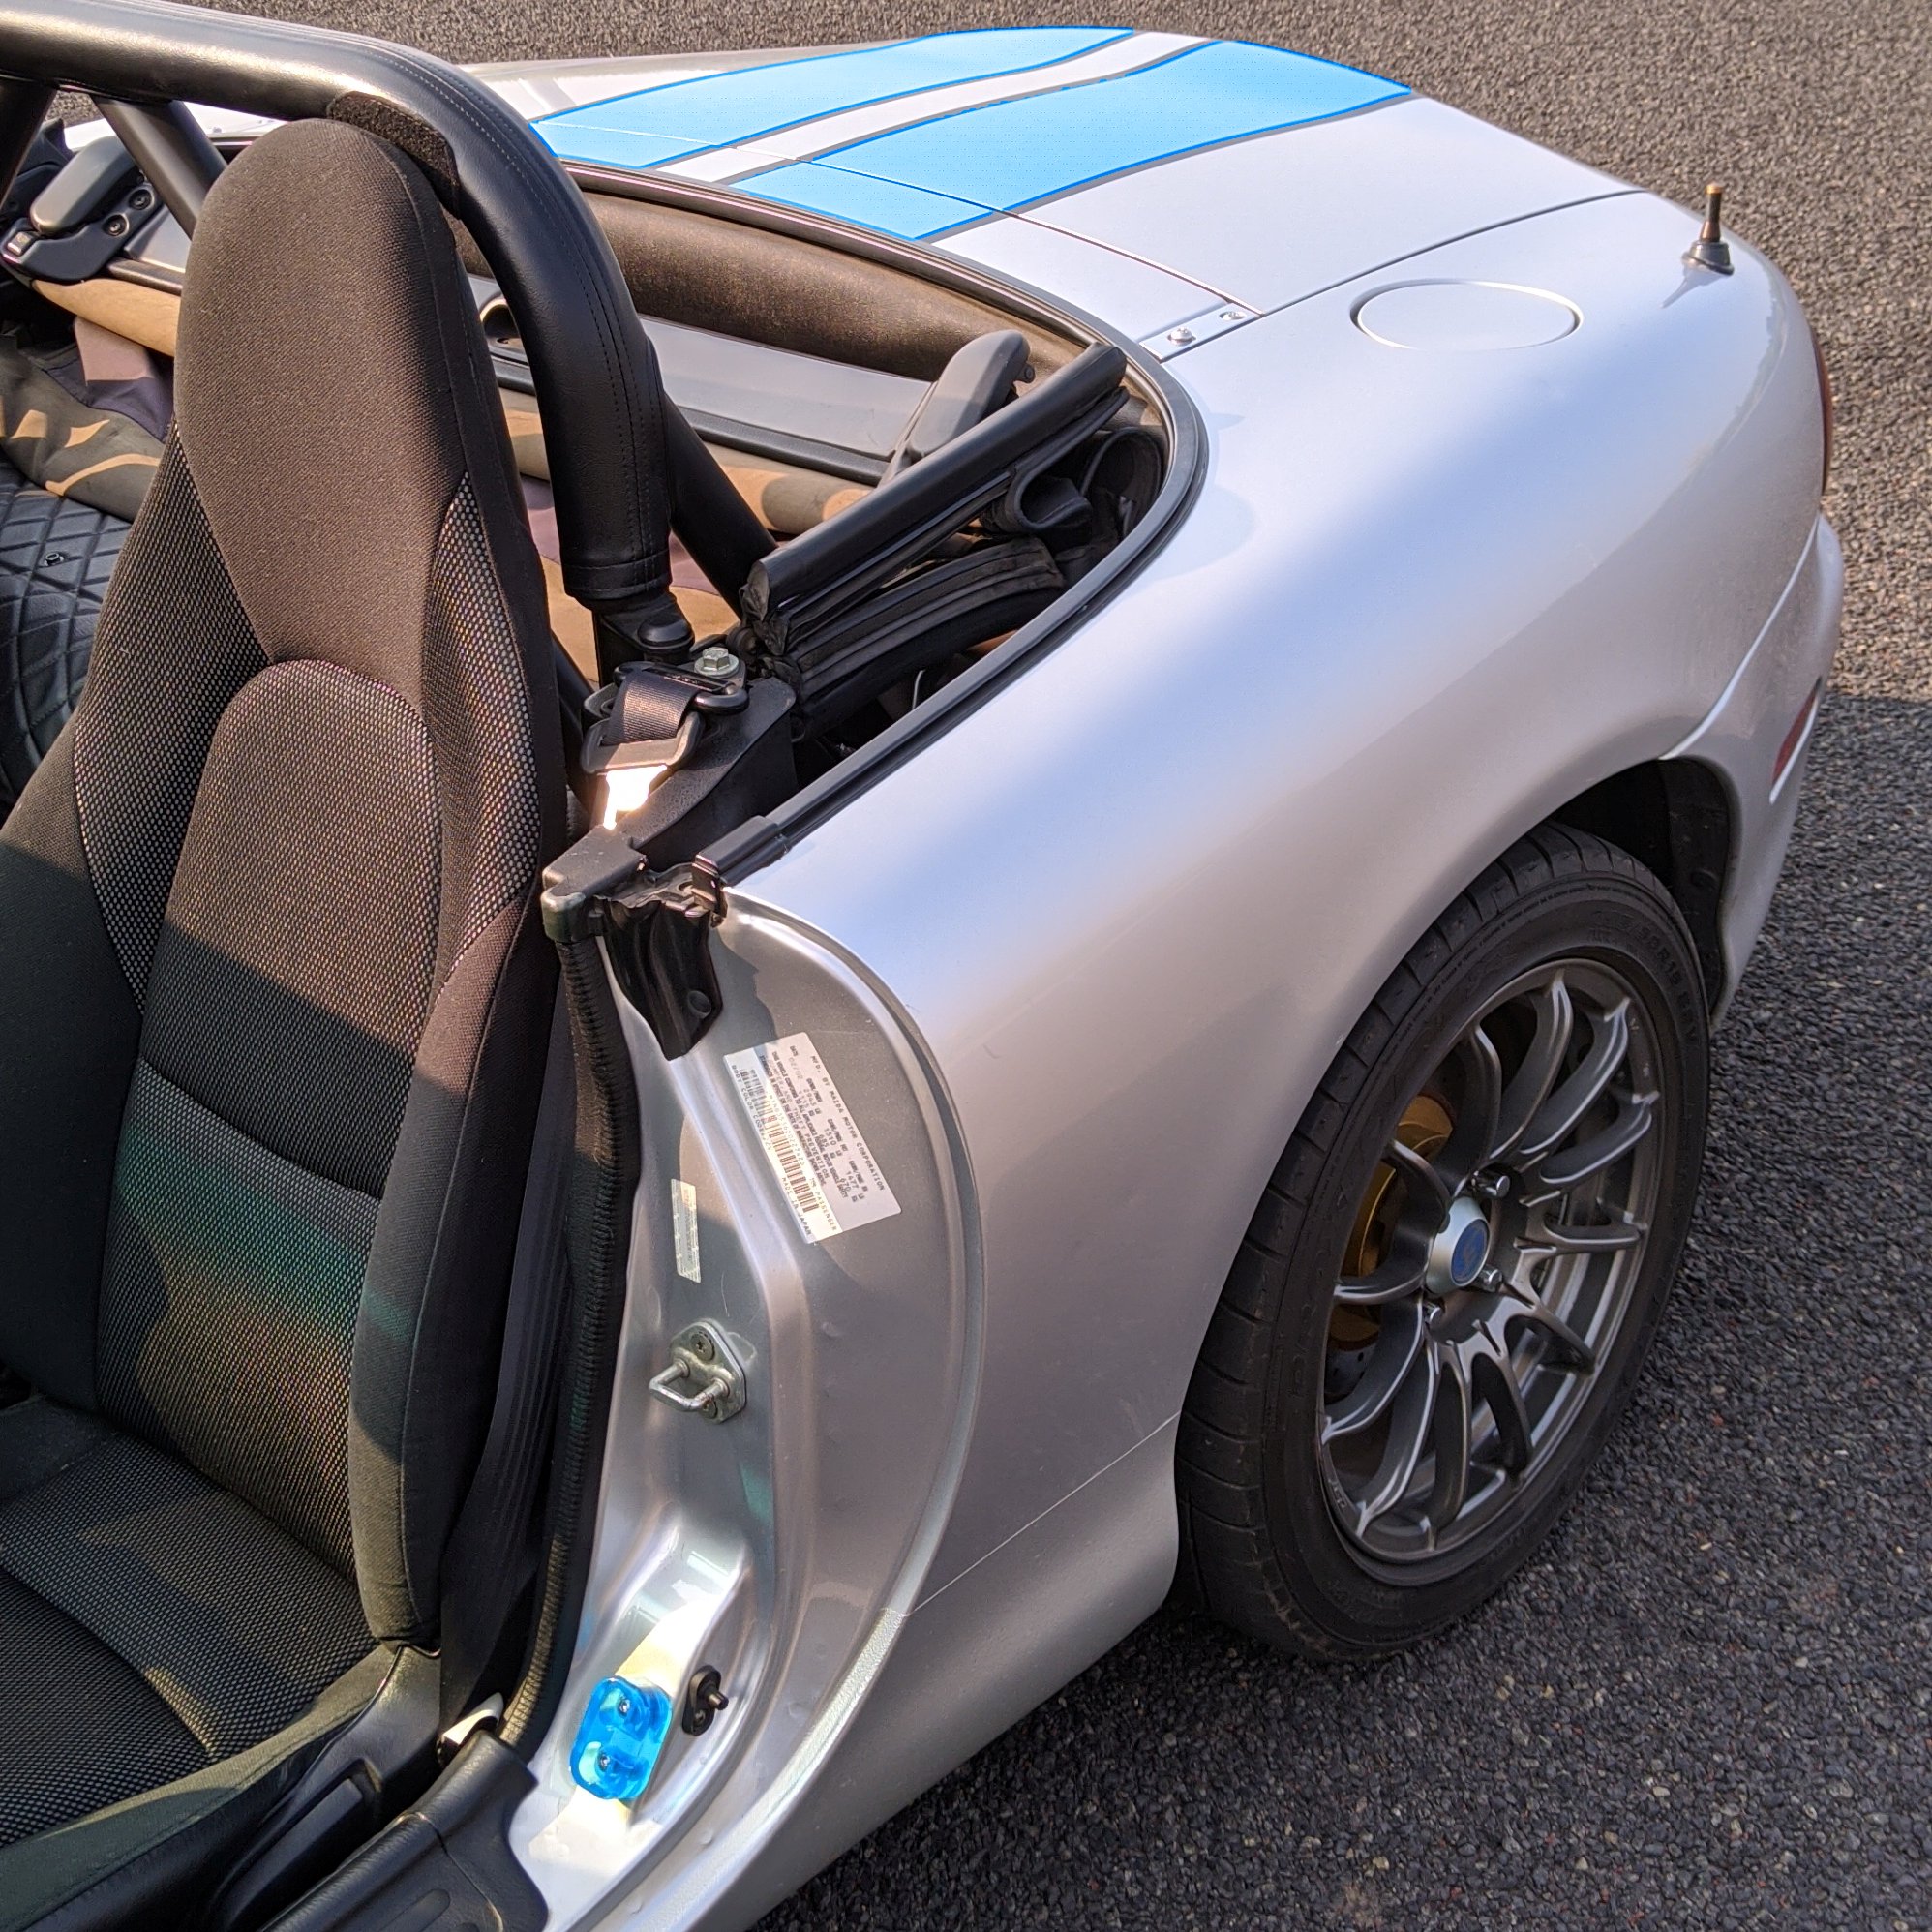
After a quick coffee break I started on the interior in earnest. The first thing to go was the driver side sill piece and then I started in on the driver’s door. I am an expert in taking off the door cards, having done it before a few times to lube the window tracks, all except for the tweeter connector. I always stumble on the, just a bit too short wire, to get the panel oriented to press the tab. You have to take out two small screws to remove the tweeter, so you can put in the flat Nakamae panel. You also have to remove two plastic angle pieces that hold the back of the stock panel. These items are easily installed on assembly because they have an expanding pin that snaps into a hole, but there is no way to get to the back (inside the door) to squeeze the pins to get them back out. I used a big screwdriver to pry them out by breaking them. This required peeling back the plastic sheet, held in place by black tarry goo, that keeps water out of the car’s interior and saves the fiberboard door cards to get the plastic pin piece out so it wouldn’t rattle around in the door. Suffice to say latex gloves and Goo-B-Gone are required here.
The driver’s door took me literally an hour and a half, but the passenger door took maybe 20 minutes because I knew what to do. Did mention that the minimal instruction sheets, with a total of three small photos, were in kanji? The passenger side sill piece was a two minute job. Just the quilted door card in combination with the sill piece was looking very sharp.
Next up was the console. To make this job easier I opted to remove the seats from the car (as a bonus I could vacuum out from under them.) I pulled out the stock console and dropped the retro looking Nakamae piece in its place. Hmmm. Not really feeling that look, plus it would mean losing the cup holders and a small storage bin which we do use (also need that to hold the stuff that was stored in the OEM door pockets.) So, I’m sure in a move that would have made the JDM/retro purists on the Miata.net Forum cry out in anguish, I pulled the quilted piece off the fiberglass base. I lined up the bottom edges of the upholstery on the bottom of the transmission tunnel and cut a slit right down the center. I then carefully trimmed out a section of the middle, leaving just enough, so that I could put our stock console back in its place.
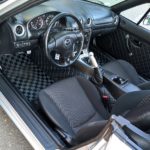 Before putting the seats back in I put in the Nakamae back wall piece and the strip that goes around the back under the convertible top. The only thing left is the back shelf piece, but as I said that will wait until I can get it to an upholstery shop to get it cut to fit around the roll bar. I was worried about the ZeroMotive checked mats not looking good with the diamond quilting, but I think they do go together pretty well.
Couple of not so quick related installation stories:
Underneath the trunk carpet right next to the spare tire was my favorite small putty knife. When we got here I discovered it missing and I was bummed. I bought a new one here and it just wasn’t the same… I remember purposely not wanting to ship it because I wanted to use it to patch all the holes in 778 Boardman Road, but couldn’t ever figure what happened to it.
When the Miata arrived back in January everything was fine, but the stubby radio antenna was missing. I figured it got pilfered while on the cross country ride on an open bay truck. No big deal, so for $10-15 I bought an even stubbier one (I never listen to radio, so what does it matter if it actually works.) Well guess what I found in the driver’s door card pocket.? Got it one, the original stubby antenna… Three possibilities, with the first being the most likely; One, I put it there so it wouldn’t get stolen, two, David it so it wouldn’t get stolen, or three, the transport truck driver did for the same reason.
I was doing this in the garage in just my stocking feet and somewhere while traveling back and forth from the workbench to the car I accidently stepped on the passenger door card as it lay on the floor. I did absolutely zero damage to the card. It was laying flat with the side that goes to the door facing up. The bottom of my right foot was not so lucky. I stepped right on one of the plastic expansion pins that would lock it in place. Owww. I came away with about a quarter inch long gash. After two minutes of direct pressure to stop the bleeding and a makeshift bandage of paper towel and duct tape I kept working until lunch. The only casualties were one sock and my ability to walk around barefoot in the garage anymore.